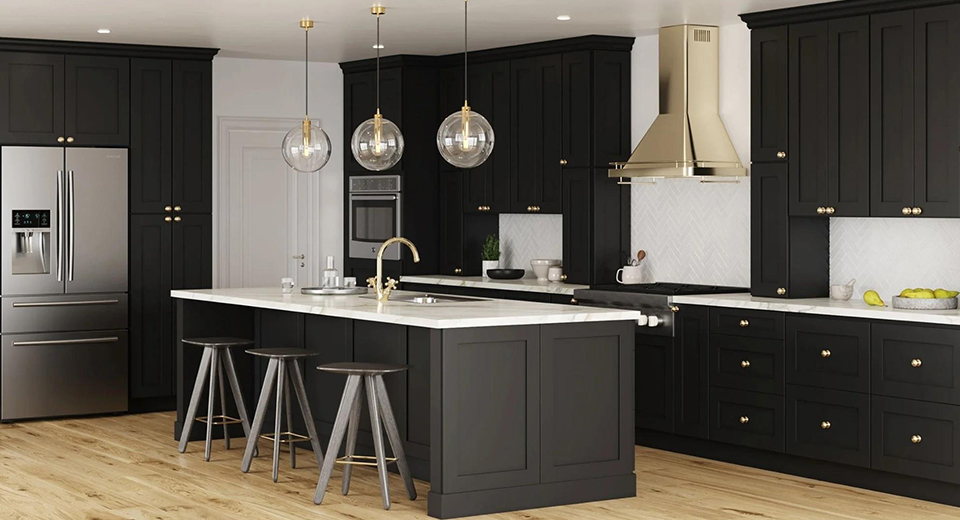
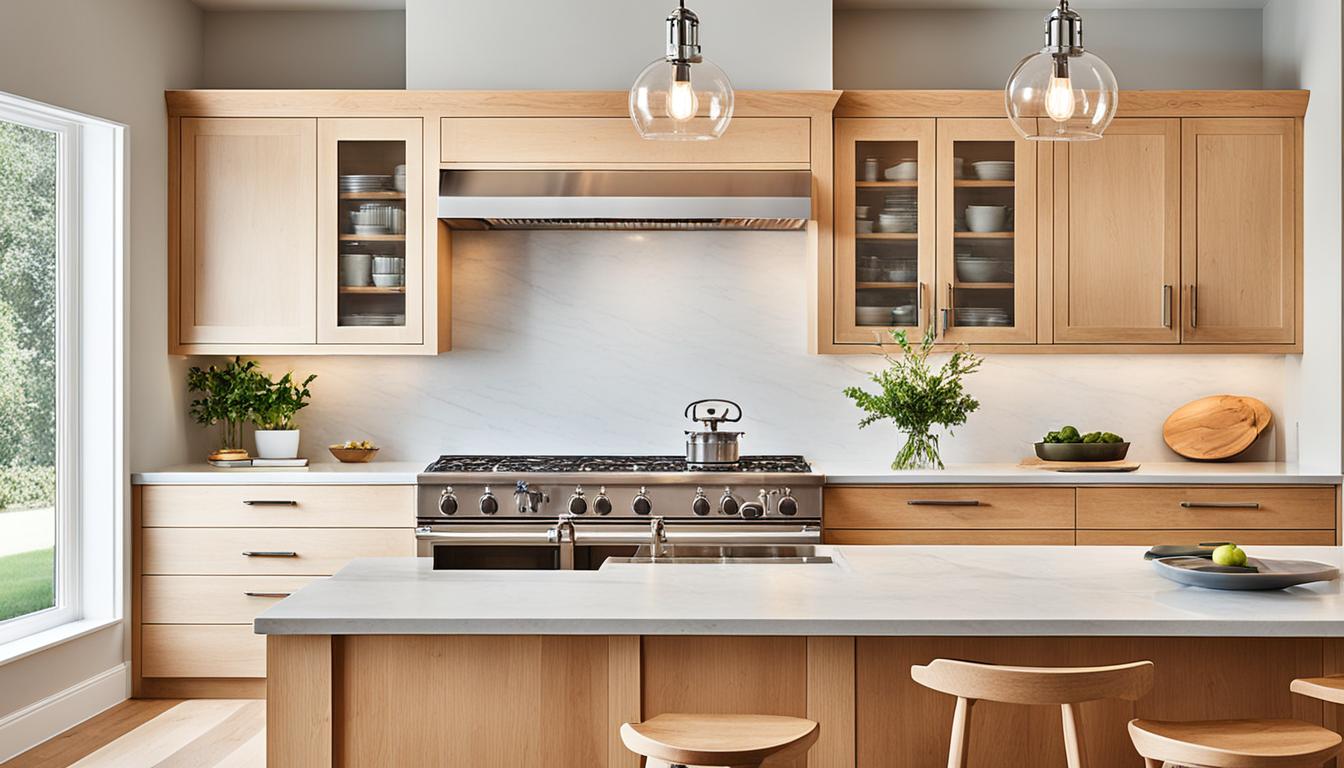
Transforming your cabinets with a fresh coat of paint can revitalize your kitchen or living space without the cost of a complete renovation. Choosing the right paint is critical for achieving a smooth, professional look and ensuring durability against daily wear and tear. Here, we break down everything you need to know about selecting the best paint for cabinets, from types and finishes to application tips and product recommendations.
Why Choosing the Right Paint Matters
Cabinets are high-traffic areas exposed to grease, moisture, and frequent handling. The wrong paint can lead to peeling, chipping, or a sticky finish. For a lasting result, select a high-quality paint specifically designed for cabinetry.
Types of Paint for Cabinets
1. Hybrid Alkyd Enamel (Waterborne Alkyds)
A modern favorite for cabinet painting, hybrid alkyd enamel paints offer the best of both worlds. They combine the durability and smooth finish of oil-based paints with the low-VOC content and easy cleanup of water-based options. This makes them a top choice for cabinets that endure heavy use.
- Key Benefits:
- Cures to a hard, glossy, and highly durable finish.
- Resistant to wear, scratches, and moisture.
- Self-leveling properties ensure a smooth, brush-stroke-free application.
- Example: Sherwin Williams Urethane Trim Enamel – Known for its fast dry time and professional-grade finish, it’s ideal for achieving a polished, factory-quality look.
2. Water-Based Latex Paint
Water-based latex paints are an eco-friendly and low-odor option, making them popular for DIY projects. Though they may require multiple coats for optimal durability, advancements in technology have improved their adhesion and resistance to wear.
Key Benefits:
- Safer for indoor use with low VOCs.
- Easy to clean up with water.
- Budget-friendly without compromising on performance.
Example: Behr Premium Plus – Offers solid coverage and a cost-effective solution for homeowners looking to refresh their cabinets on a budget.
3. Oil-Based Paint (Traditional)
Once the gold standard for cabinet painting, oil-based paints are now less commonly used due to their strong odor, longer drying time, and environmental concerns. However, they still deliver a durable and smooth finish that some professionals and enthusiasts prefer.
Key Benefits:
- Creates a hard, resilient surface ideal for high-traffic areas.
- Excellent for achieving a luxurious, furniture-grade look.
Considerations:
- Requires mineral spirits or turpentine for cleanup.
- Over time, the finish may yellow, particularly in white or lighter shades.
This range of options ensures you can select the best paint type based on your priorities—durability, ease of use, or eco-friendliness.
Best Paint Finishes for Cabinets
Choosing the right finish is just as important as selecting the paint type. The finish not only impacts the appearance of your cabinets but also their durability and maintenance.
1. Semi-Gloss
Semi-gloss is the top choice for kitchen cabinets because of its durability and ease of maintenance. It offers a subtle shine that enhances the vibrancy of your cabinets, making them look clean and modern.
Why Choose Semi-Gloss?
- Resistant to stains and moisture, ideal for high-use areas.
- Easy to wipe clean without dulling the finish.
- Adds a sleek, professional touch to any cabinet style.
2. Satin
For a softer, more understated look, satin finish is a great option. While it has less shine than semi-gloss, it provides a smooth, elegant appearance that works well in traditional or cozy spaces.
Why Choose Satin?
- Offers a low-sheen finish that hides minor imperfections better than glossy options.
- Suitable for cabinets in areas with less traffic.
- Slightly less durable and harder to clean compared to semi-gloss.
3. High-Gloss
High-gloss finishes deliver a bold, ultra-modern look with a mirror-like reflection. However, they are less forgiving when it comes to imperfections like brush strokes or surface dents.
Why Choose High-Gloss?
- Creates a striking, contemporary aesthetic.
- Easy to clean but may require more preparation for a flawless application.
- Best suited for sleek, minimalist designs.
Pro Tip:
Always test a small area with both satin and semi-gloss finishes to see how they interact with your lighting and cabinet material. This will help you make an informed decision that complements your space.
Top Paint Recommendations for Cabinets
Selecting the right paint is crucial for achieving a durable and professional finish. Here are the top-rated cabinet paints, along with their benefits, drawbacks, and ideal uses:
1. Sherwin Williams Urethane Trim Enamel
This paint delivers exceptional durability and a smooth, self-leveling finish, making it a go-to choice for professional-grade results.
Pros:
- Self-leveling formula minimizes visible brush strokes.
- Highly durable and resistant to moisture, scratches, and wear.
Cons:
- Higher price compared to other options.
Best For: Achieving a flawless, factory-like finish for high-traffic cabinets.
2. Benjamin Moore Advance
Renowned for its smooth application and furniture-grade finish, this low-VOC paint is an excellent choice for cabinets that face heavy daily use.
Pros:
- Low-VOC content makes it safer for indoor use.
- Hard finish mimics the durability of oil-based paint.
Cons:
- Longer drying and curing time.
Best For: Durable, high-touch cabinets in busy kitchens or living spaces.
3. Behr Urethane Alkyd Semi-Gloss Enamel
A budget-friendly option that doesn’t compromise on quality, this hybrid enamel offers excellent flow and leveling for a smooth finish.
Pros:
- Affordable and easy to clean with water.
- Great leveling properties for fewer brush marks.
Cons:
- May need to be specially ordered in some areas.
Best For: Cost-effective cabinet upgrades that still deliver reliable durability.
4. HGTV Home by Sherwin Williams Infinity
Combining self-priming convenience with superb stain resistance, this paint simplifies the cabinet painting process while providing excellent results.
Pros:
- Self-priming formula saves time and effort.
- Superior resistance to stains and wear.
Cons:
- Slightly more expensive than standard latex paints.
Best For: Quick, high-quality projects where minimal preparation is needed.
By weighing the pros and cons of each option, you can select the paint that best suits your budget, timeline, and durability requirements.
How to Prepare Cabinets for Painting
Proper preparation is the foundation of a smooth, durable, and professional-looking cabinet finish. Skipping or rushing this step can lead to poor adhesion, uneven application, or peeling paint over time. Here’s how to prepare your cabinets the right way:
1. Clean Thoroughly
Start by removing all grease, grime, and surface residue. Cabinets in kitchens, in particular, often accumulate oil and dirt that can interfere with paint adhesion.
What to Use:
- A degreaser or a mixture of warm water and dish soap.
Pro Tip: Focus on high-touch areas like handles, edges, and corners to ensure a clean surface for painting.
2. Sand the Surface
Sanding is essential to create a smooth surface and ensure the paint adheres properly.
Step-by-Step:
- Use 120-grit sandpaper to remove the old finish or any glossy coating.
- Follow up with 220-grit sandpaper for a finer, smooth surface.
Pro Tip: After sanding, wipe down the surface with a tack cloth to remove all dust and debris.
3. Prime the Cabinets
Priming is crucial, especially when painting over glossy finishes, stained wood, or raw materials. A high-quality primer improves paint adhesion and prevents stains or wood tannins from bleeding through.
Recommended Primer:
- Zinsser BIN Shellac-Based Primer – Excellent for blocking stains and creating a strong base for paint.
Pro Tip: Apply primer evenly using a brush or roller and let it dry completely before sanding lightly and applying the first coat of paint.
By investing time in proper cleaning, sanding, and priming, you’ll ensure a long-lasting and flawless cabinet finish. Skipping any of these steps can compromise the durability and appearance of your paint job.
Brush vs. Spray Painting: Which is Right for Your Cabinets?
Choosing between spray painting and rolling/brushing depends on your project’s size, budget, and desired finish. Here’s a breakdown of the pros and cons to help you decide:
Spray Painting
Spray painting delivers a professional, factory-smooth finish, making it a popular choice for larger projects or new cabinets.
Pros:
- Quick application, especially for covering large areas.
- Produces a flawless, streak-free finish.
- Ideal for intricate designs or hard-to-reach spots.
Cons:
- Requires extensive masking and preparation to avoid overspray.
- Needs protective gear for indoor use.
- Clean-up can be time-consuming.
Best For: Large-scale projects, new cabinets, or achieving a factory-quality finish.
Rolling and Brushing
Rolling and brushing are cost-effective and practical for smaller projects or touch-ups. With the right tools and paint, you can still achieve excellent results.
- Pros:
- Minimal prep work compared to spray painting.
- Easier to control, making it ideal for DIY beginners.
- More budget-friendly, as no specialized equipment is needed.
- Cons:
- May leave visible brush or roller marks unless using self-leveling paint.
- Takes longer to complete than spray painting.
- Best For: Small-scale projects, touch-ups, or when working with a tight budget.
Pro Tip:
For the smoothest finish, combine methods: use a brush for edges and corners, and a roller for flat surfaces. If using spray paint, invest in high-quality equipment and dedicate time to proper prep work.
Step-by-Step Painting Process
- Remove cabinet doors and hardware.
- Label each door for easy reassembly.
- Prime the surface with a bonding primer.
- Apply the first coat of paint with a high-quality brush or roller.
- Sand lightly between coats with 220-grit sandpaper.
- Apply a second coat for maximum durability.
- Allow the paint to cure for several days before reattaching doors.
Tips for Long-Lasting Results
- Use high-quality tools like a short-nap roller or angled brush for smooth application.
- Avoid rushing; allow each coat to dry fully before proceeding.
- Consider a satin or semi-gloss finish for the perfect balance of aesthetics and durability.
Common Mistakes to Avoid
- Skipping sanding or priming: Leads to poor adhesion and peeling.
- Using low-quality paint: May result in a sticky or uneven finish.
- Neglecting to sand between coats: Prevents a smooth, professional look.
FAQ
1. Can I use wall paint for cabinets?
No. Wall paint lacks the durability needed for high-touch surfaces like cabinets.
2. Do I need a topcoat?
Most high-quality cabinet paints, like Sherwin Williams Urethane Trim Enamel, do not require a topcoat.
3. How long does cabinet paint take to cure?
While paint may feel dry within hours, full curing often takes 7-30 days.
Conclusion
Choosing the best paint for cabinets is essential for achieving a factory-smooth finish that stands up to daily wear. Whether you opt for the premium Sherwin Williams Urethane Trim Enamel or the budget-friendly Behr Premium Plus, proper preparation and application are key to success. By following these expert tips, you can transform your cabinets into a durable, professional masterpiece.


