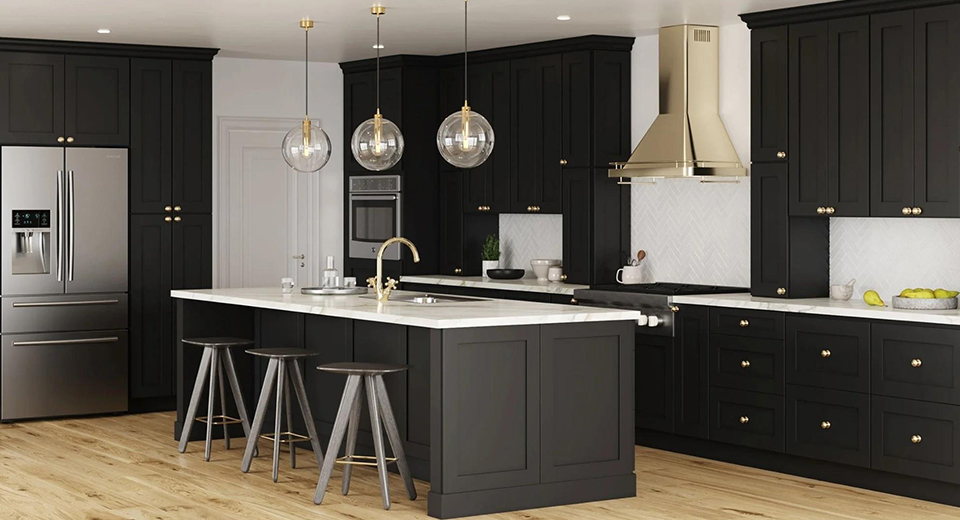
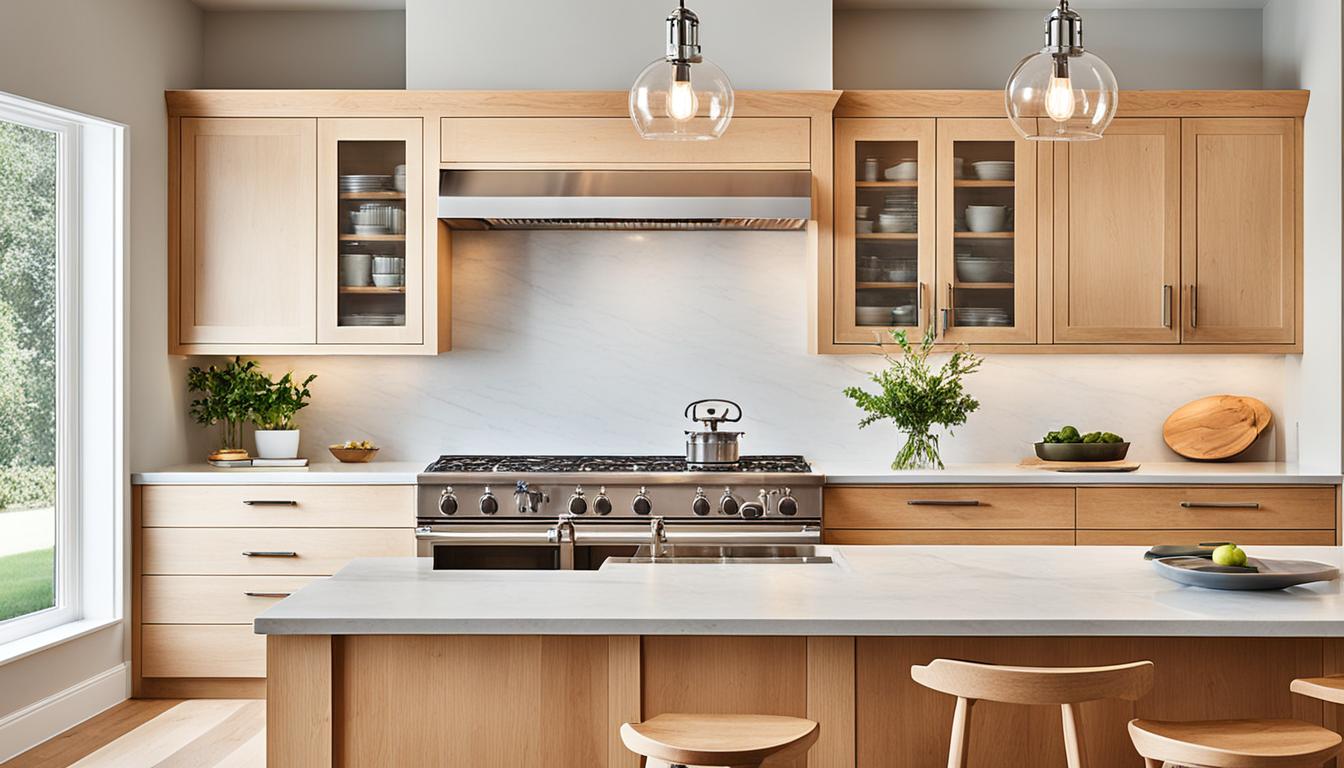
Shaker cabinet doors are a timeless design known for their clean lines and versatility, making them a favorite for kitchens, bathrooms, and furniture. Whether you’re a seasoned woodworker or a DIY enthusiast, creating Shaker cabinet doors is a rewarding project that can transform your space. This step-by-step guide will walk you through the process, offering tips for beginners and advanced techniques for experts.
Why Shaker Cabinet Doors?
Shaker-style cabinet doors originated in the 18th century with the Shaker religious movement, which emphasized simplicity, craftsmanship, and functionality. Today, their minimalist design complements modern and traditional interiors alike.
Why Make Them Yourself?
- Cost Savings: Pre-made doors can cost $35–$90 or more, while DIY versions cost as little as $15–$30 per door.
- Customization: Choose your materials, dimensions, and finishes to match your style.
- Skill Development: Build woodworking skills while creating something functional and beautiful.
Step 1: Tools and Materials
Essential Tools
- Miter Saw: For precise cutting of stiles and rails.
- Table Saw or Router: To create grooves (dados) for the center panel.
- Drill: For pocket hole joinery or hinge installation.
- Clamps: To hold pieces securely during assembly.
- Orbital Sander: For smooth finishing.
Optional Tools for Advanced Users:
- Kreg Pocket Hole Jig: For quick and easy joinery.
- Mortise and Tenon Jig: For professional-grade joinery.
Materials
| Item | Estimated Cost | Notes |
|---|---|---|
| 1×3 Poplar (8 ft) | $10 | For stiles and rails |
| 1/4-inch Plywood (4×8 ft) | $25 | For center panels |
| Wood Glue | $5 | For assembling joints |
| Sandpaper (120/220-grit) | Included in $150 total | For smooth finishing |
| Paint or Stain | $20–$40 | Based on desired finish type |
| Hardware (Knobs, Hinges) | $3–$5 per piece | Choose based on design preference |
Step 2: Planning and Measuring
Measure Your Cabinet
- Inside and Outside Dimensions:
- Measure the cabinet opening’s height and width.
- Account for Overlap:
- Add 1/2 inch to each dimension for overlay doors.
- For inset doors, use exact dimensions for a flush fit.
Calculate Frame and Panel Dimensions
- Stiles (Vertical Pieces):
- Full door height.
- Rails (Horizontal Pieces):
- Door width minus twice the stile width plus tenon allowances.
- Panel:
- Subtract 1/2 inch from the inside opening dimensions to account for grooves.
Pro Tip: Use an interactive dimension calculator to avoid errors and ensure precision.
Step 3: Cutting and Preparing
Cut Stiles and Rails
- Use a miter saw for clean cuts.
- Label each piece for easy assembly.
- Dry-fit to ensure the lengths are accurate.
Cut the Center Panel
- Use a table saw to cut the panel to size.
- Allow a 1/16-inch gap on all sides for wood expansion.
Create Grooves (Dados)
- Table Saw or Router Setup:
- Use a 1/4-inch blade or bit and set the depth to 3/8 inch.
- Cut Grooves:
- Run stiles and rails through the saw/router to create grooves for the center panel.
- Cut Tenons on Rails:
- Adjust your saw/router to create 1/4-inch-wide, 3/8-inch-deep tenons on both ends of the rails.
Step 4: Assembling the Frame
- Dry Fit All Pieces:
- Assemble the frame and panel without glue to check for alignment.
- Apply Wood Glue:
- Apply glue to the tenons and grooves (not the panel).
- Clamp the Frame:
- Secure the frame with clamps and check for squareness using a carpenter’s square.
- Optional Reinforcement:
- Use pocket screws or brad nails for added strength.
Pro Tip: Avoid gluing the center panel to allow for natural wood movement.
Step 5: Sanding and Finishing
Sanding Techniques
- Begin with 120-grit sandpaper to smooth edges and surfaces.
- Finish with 220-grit for a polished look.
- Fill gaps or imperfections with wood filler and sand again for a seamless finish.
Finishing Options
- Paint:
- Apply a primer followed by 2–3 coats of paint. Sand lightly between coats for a professional finish.
- Stain:
- Apply wood stain for a natural look, then seal with polyurethane for durability.
Step 6: Installing Hardware
- Measure and Mark:
- Use a template for hinge and knob placements to ensure consistency.
- Attach Hinges:
- Install concealed or overlay hinges, depending on your cabinet style.
- Install Knobs or Pulls:
- Pre-drill holes and attach hardware securely.
Troubleshooting Common Issues
1. Warping
- Solution: Use properly dried wood and allow for movement in the center panel.
2. Misaligned Frame
- Solution: Ensure the frame is square before gluing or clamping. Use shims or adjust hinge placement if necessary.
3. Uneven Finish
- Solution: Sand between coats and allow proper drying time for each layer.
FAQs: Making Shaker Cabinet Doors
1. What wood is best for Shaker cabinet doors?
- Poplar: Affordable and ideal for painted finishes.
- Hardwoods (e.g., Oak, Maple): Durable and great for natural finishes.
- MDF: Stable and smooth for painted projects.
2. How much does it cost to make Shaker cabinet doors?
DIY Shaker doors typically cost $15–$30 each, depending on the materials used.
3. Can I make Shaker doors without a router?
Yes, a table saw can be used to cut grooves and tenons. Alternatively, pocket-hole joinery simplifies the process.
4. How do I ensure accurate measurements?
Use detailed sketches or a dimension calculator. Double-check all measurements before cutting.
5. What’s the best way to finish Shaker doors?
For durability, use a semi-gloss or satin paint. For natural finishes, apply a wood stain followed by polyurethane.
Conclusion: Why DIY Shaker Cabinet Doors?
Making Shaker cabinet doors is an enjoyable DIY project that saves money, enhances your woodworking skills, and allows for full customization. With the right tools, materials, and techniques, you can create professional-quality doors that elevate your space.
Need materials or expert advice? Contact Shaker Cabinets for premium supplies and tips to make your DIY project a success!


