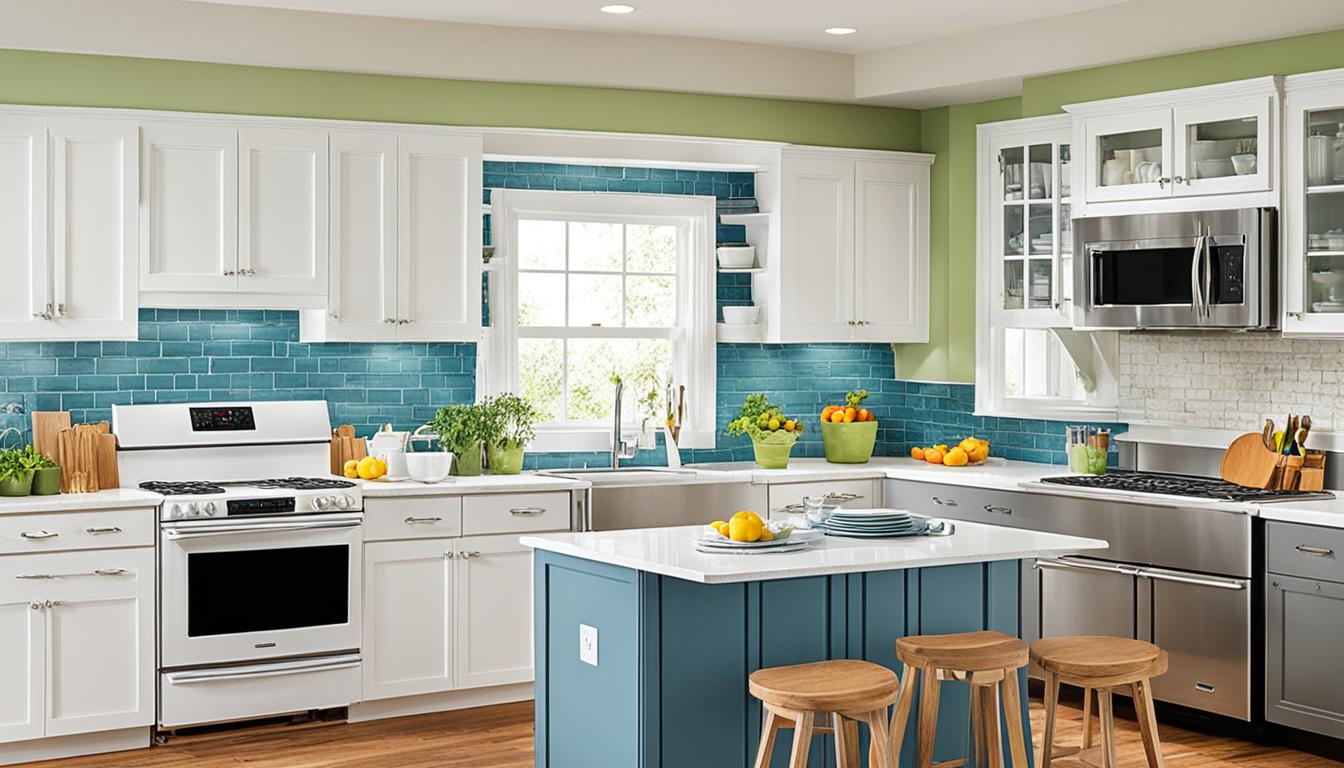
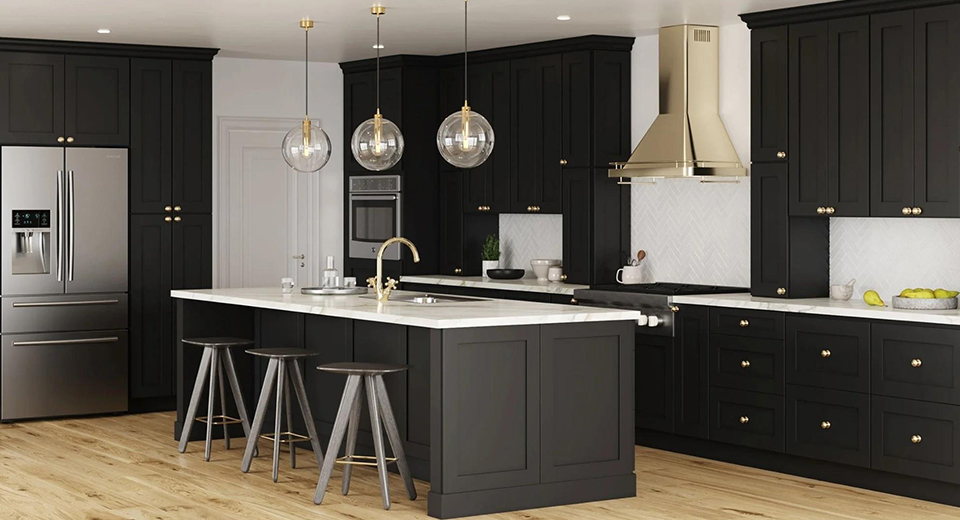
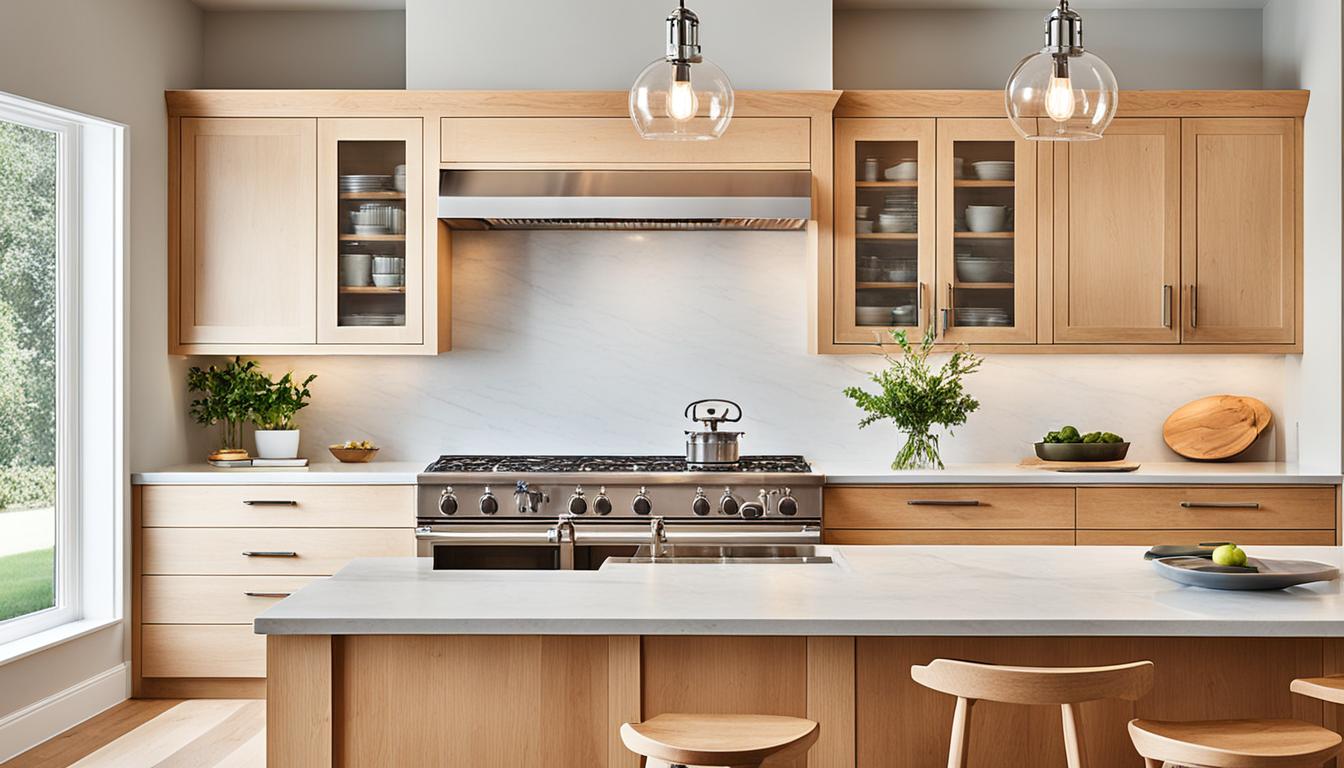
Painting cabinets without sanding is a popular option for homeowners looking to update their kitchen or bathroom without the mess and time commitment of traditional sanding. Whether your cabinets are made of wood, laminate, or MDF, modern primers and paints make it possible to achieve a durable, professional-looking finish without sanding. This guide outlines how to paint cabinets without sanding, from preparation to finishing touches.
Why Skip Sanding?
Sanding cabinets can be messy, time-consuming, and labor-intensive. Skipping this step is not only faster but also ideal if:
- Your cabinets are in good condition without significant imperfections.
- You want to avoid airborne dust, especially if you have allergies or respiratory sensitivities.
- You’re painting over laminate or MDF, which can be tricky to sand.
Materials and Tools You’ll Need
Before starting, gather the following materials to ensure a smooth process:
Materials
- Degreaser or Cleaner (e.g., TSP or a vinegar solution)
- Deglossing Liquid (optional for extra adhesion)
- Adhesion Primer (e.g., Zinsser BIN or KILZ Adhesion)
- Cabinet Paint (semi-gloss or satin finish recommended)
- Topcoat (optional for added durability)
Tools
- Screwdriver or Drill (to remove hardware and doors)
- Painter’s Tape
- Microfiber Cloth or Sponge
- Paintbrushes (angled for corners) and Foam Rollers
- Drop Cloths
- Paint Tray
- Sandpaper or Sanding Sponge (optional for small touch-ups)
Step-by-Step Process
Step 1: Remove Cabinet Hardware and Doors
Begin by removing all cabinet doors, drawers, and hardware, including hinges, knobs, and pulls. Label the doors and drawers to ensure they go back in the correct positions later.
Pro Tip: Place screws and hardware in labeled bags to keep everything organized.
Step 2: Clean the Cabinets Thoroughly
Use a degreaser or a solution of water and vinegar to remove grease, grime, and dust from the surfaces. Cleaning is essential for proper paint adhesion.
- Apply the cleaner with a sponge or cloth, paying special attention to areas around handles and hinges where grease tends to accumulate.
- Wipe down the cabinets with a clean, damp cloth to remove any residue.
Optional Step: If your cabinets have a glossy finish, use a liquid deglosser to dull the surface and improve adhesion.
Step 3: Protect Surrounding Areas
Use painter’s tape to protect walls, countertops, and other surfaces around the cabinets. Place drop cloths on the floor to catch any drips or spills.
Step 4: Apply an Adhesion Primer
Adhesion primer is the key to painting cabinets without sanding. It’s designed to stick to smooth surfaces, including laminate, MDF, and glossy finishes.
- How to Apply:
- Use an angled brush to paint edges and corners.
- Roll the primer onto flat surfaces with a foam roller for a smooth finish.
- Let the primer dry according to the manufacturer’s instructions (usually 2–6 hours).
Pro Tip: Apply two coats of primer for better coverage, especially on dark or stained wood cabinets.
Step 5: Paint the Cabinets
Once the primer is dry, it’s time to paint. Choose a high-quality cabinet paint in a satin or semi-gloss finish for durability and easy cleaning.
- Apply the Paint:
- Start with the edges and corners using an angled brush.
- Use a foam roller for flat surfaces to achieve a smooth, brushstroke-free finish.
- Allow the first coat to dry completely before applying the second coat.
Pro Tip: Light coats yield better results than heavy coats, which can drip or look uneven.
Step 6: Add a Protective Topcoat (Optional)
If you want added durability, especially in high-traffic areas like kitchens, apply a clear polyurethane or polycrylic topcoat. This step is optional but recommended for protecting your cabinets from scratches, stains, and moisture.
- Use a foam brush or roller to apply the topcoat evenly.
- Allow it to dry fully before reassembling the cabinets.
Step 7: Reassemble Your Cabinets
Once the paint is completely dry (typically after 24–48 hours), reattach the doors, drawers, and hardware. Be careful during reassembly to avoid chipping the new paint.
Pro Tip: Consider updating your cabinet hardware for a fresh, modern look that complements your newly painted cabinets.
Common Mistakes to Avoid
- Skipping Cleaning: Paint won’t adhere to greasy or dirty surfaces, so thorough cleaning is non-negotiable.
- Rushing Between Coats: Allow each coat of primer and paint to dry fully to prevent peeling or uneven finishes.
- Using the Wrong Primer: Always choose an adhesion primer designed for smooth or glossy surfaces.
- Skipping the Deglossing Step: If your cabinets are highly glossy, deglossing improves adhesion and prevents peeling.
FAQs About Painting Cabinets Without Sanding
1. Can I paint laminate cabinets without sanding?
Yes, with the right adhesion primer, you can paint laminate cabinets without sanding. Ensure the surface is clean and dry before priming.
2. How durable is paint on cabinets without sanding?
If you use a high-quality adhesion primer and paint, the finish can last for years. Adding a topcoat increases durability.
3. Do I need to use a special paint for cabinets?
Yes, use a paint labeled for cabinets or furniture, as these are designed for durability and easier cleaning.
4. What if my cabinets have small imperfections?
Use wood filler to repair minor cracks or holes before priming. Sand the filled areas lightly if needed.
5. How do I prevent brush marks or roller lines?
Use a foam roller for flat surfaces and a high-quality angled brush for edges. Work in light, even coats for a smooth finish.
Conclusion
Painting cabinets without sanding is an efficient and mess-free way to refresh your kitchen or bathroom. By using an adhesion primer, high-quality cabinet paint, and careful preparation, you can achieve a professional look that’s both durable and stylish. Follow these steps to give your cabinets a modern update with minimal effort.
Ready to transform your cabinets? Contact Shaker Cabinets for expert advice and premium cabinet painting supplies to get started!


